

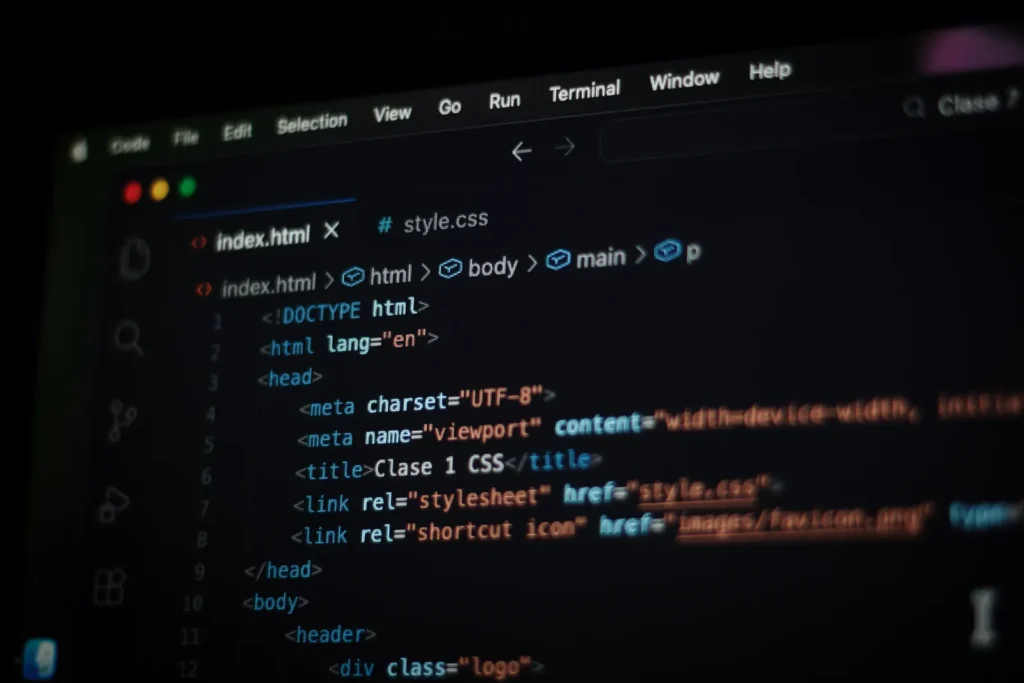
Every website you have ever visited — every article, video page, and online store — is built on HTML underneath. The good news is that HTML is the easiest programming-related skill to start with: you need no special software, and you can see your results in a browser within minutes. In this guide, you will learn what HTML is, how it works, and you will build your first complete webpage from scratch in about half an hour.
What Is HTML?
HTML stands for HyperText Markup Language. Let us break that down. “HyperText” means text that can link to other text — the clickable links you use every day. “Markup” means you add special labels, called tags, around your content to describe what it is. “Language” just means it has rules you follow.
Here is the key idea: HTML does not do things the way Python or JavaScript do. It describes structure. You use it to say “this is a heading,” “this is a paragraph,” and “this is a list.” The browser then reads your description and displays the page accordingly. Think of HTML as the skeleton of a webpage — it holds everything in place, while CSS (colors and layout) and JavaScript (interactivity) add the skin and muscles.
A quick example:
<h1>My Favorite Foods</h1>
<p>I love mangoes, pasta, and fresh bread.</p>
The <h1> tag marks a main heading, and <p> marks a paragraph. Notice how each opening tag has a matching closing tag with a forward slash. That pattern is the heart of HTML.
How HTML Tags and Elements Work
Tags are the building blocks of HTML. Most tags come in pairs: an opening tag like <p> and a closing tag like </p>. Everything between them — including the tags themselves — is called an element.
Some tags stand alone without a closing tag. These are called void elements or self-closing tags. The most common ones are:
<br>— a line break<img>— an image<hr>— a horizontal line across the page<input>— a form field
Tags can also carry extra information called attributes. Attributes sit inside the opening tag as name-value pairs:
<a href="https://example.com">Visit Example</a>
<img src="cat.jpg" alt="A sleepy orange cat">
Here, href tells the link where to go, and src tells the image which file to display. The alt attribute provides a text description of the image, which screen readers read aloud for visually impaired users and which appears if the image fails to load. Always include it — it is good practice and good manners.
Elements can be nested inside each other, like Russian dolls. When you nest, always close the inner tag before the outer one:
<p>This sentence has <strong>bold text</strong> inside it.</p>The Basic Structure of Every HTML Page
Every complete HTML document follows the same skeleton. Here it is, with an explanation of each part:
<!DOCTYPE html>
<html lang="en">
<head>
    <meta charset="UTF-8">
    <title>My First Webpage</title>
</head>
<body>
    <h1>Hello, World!</h1>
    <p>This is my first webpage.</p>
</body>
</html>
What each part does:
<!DOCTYPE html>— tells the browser “this is a modern HTML5 document.” It is not a tag, just a declaration, and it always goes first.<html>— wraps the entire page. Thelang="en"attribute tells browsers and screen readers the page is in English.<head>— holds invisible information about the page: the title shown in the browser tab, character encoding, and links to stylesheets.<meta charset="UTF-8">— ensures characters like é, ₹, and emojis display correctly.<title>— the text shown in the browser tab and in search results.<body>— contains everything visible on the page: text, images, links, and so on.
Memorize this skeleton. You will type it — or let your editor generate it — for every page you ever build.
Essential Tags You Will Use Every Day
You do not need to learn all hundred-plus HTML tags at once. These are the ones that cover the vast majority of beginner pages:
Headings
HTML has six heading levels, <h1> through <h6>. Use <h1> once per page for the main title, then <h2> for sections and <h3> for subsections. Do not pick heading levels for their size — that is CSS’s job. Pick them for the document’s outline.
Text Formatting
<p>This is a paragraph of text.</p>
<strong>This text is bold and important.</strong>
<em>This text is emphasized (usually italic).</em>
Prefer <strong> over <b> and <em> over <i>. The difference is meaning: <strong> and <em> tell the browser the text is important, which helps screen readers and search engines.
Links
<a href="https://www.wikipedia.org">Visit Wikipedia</a>The anchor tag <a> creates hyperlinks. The href attribute holds the destination. Links can point to other websites, other pages on your site (href="about.html"), or even sections of the same page.
Images
<img src="sunset.jpg" alt="Orange sunset over the ocean" width="600">Images need a src (the file location) and an alt description. Keep image files in the same folder as your HTML file while learning, so the paths stay simple.
Lists
<ul>
    <li>Apples</li>
    <li>Bananas</li>
    <li>Cherries</li>
</ul>

<ol>
    <li>Boil water</li>
    <li>Add pasta</li>
    <li>Drain and serve</li>
</ol>
<ul> makes a bulleted list (unordered), and <ol> makes a numbered list (ordered). Each item sits inside an <li> tag.
Build Your First Webpage: A 30-Minute Project
Time to put it all together. You will build a simple personal profile page. You need nothing but a text editor (Notepad on Windows, TextEdit on Mac in plain-text mode, or VS Code) and a web browser.
Step 1: Create the file (2 minutes)
Open your text editor, create a new file, and save it as index.html in a new folder called my-first-site. The .html extension is what tells the browser to treat it as a webpage.
Step 2: Add the skeleton (5 minutes)
Type (do not copy-paste — typing builds muscle memory) the basic structure from the previous section, changing the title to something like “About Me”.
Step 3: Add your content (15 minutes)
Inside the <body>, build your page. Here is a complete example to guide you — personalize every line:
<body>
    <h1>Hi, I'm Priya!</h1>
    <p>I'm learning web development, and this is my very first webpage.</p>

    <h2>Things I Enjoy</h2>
    <ul>
        <li>Reading science fiction novels</li>
        <li>Cooking new recipes</li>
        <li>Weekend cycling</li>
    </ul>

    <h2>My Goals This Year</h2>
    <ol>
        <li>Finish an HTML and CSS course</li>
        <li>Build a portfolio website</li>
        <li>Learn JavaScript basics</li>
    </ol>

    <h2>Find Me Online</h2>
    <p>Check out <a href="https://github.com">GitHub</a>
    to see what developers are building.</p>

    <hr>
    <p><em>Made with HTML — my first step into web development!</em></p>
</body>
Step 4: Open it in your browser (3 minutes)
Double-click index.html, or drag it into your browser window. Your page appears. Now here is the magic trick of web development: go back to the editor, change something, save, and hit refresh in the browser. Instant feedback, every time.
Step 5: Experiment (5 minutes)
Add an image, try a new heading level, make a link to your favorite website. Break things deliberately — a missing closing tag will not harm your computer; it will just look odd, and fixing it teaches you how HTML really works.
Common Beginner Mistakes
- Forgetting closing tags: Every
<p>needs its</p>. Unclosed tags can swallow the rest of your page into one giant paragraph. - Wrong nesting order:
<p><strong>text</p></strong>is invalid. Close inner tags first:<p><strong>text</strong></p>. - Saving as .txt instead of .html: If your file is named
index.html.txt, the browser shows raw code instead of a page. On Windows, enable “show file extensions” to catch this. - Using a word processor: Microsoft Word adds hidden formatting that breaks HTML. Always use a plain-text or code editor.
- Typos in tag names:
<h1>works;<Hl>(with a lowercase L) does not. Tags are lowercase and exact. - Broken image paths: If your image does not load, the
srcpath is almost always wrong. Keep images beside your HTML file while learning.
Where HTML Fits in the Bigger Picture
HTML alone makes plain-looking pages — and that is fine, because structure comes first. Once you are comfortable, the natural next steps are:
- CSS (Cascading Style Sheets): the language of colors, fonts, spacing, and layouts. HTML says “this is a heading”; CSS says “make it blue and centered.”
- JavaScript: the language of interactivity — buttons that respond, forms that validate, content that updates without reloading.
- Semantic HTML: meaningful tags like
<header>,<nav>,<main>,<article>, and<footer>that describe a page’s regions. They improve accessibility and search engine understanding.
You now know the single most important layer of the web. Everything else builds on this foundation.
Final Thoughts
In about thirty minutes, you went from zero to a working webpage you built yourself: headings, paragraphs, lists, links, and a proper document structure. That is genuinely how every web developer started — nobody skipped this step.
Your suggested next steps: first, rebuild the profile page from memory without looking at the example; the parts you struggle with are exactly what you need to practice. Second, add a second page (like hobbies.html) and link the two pages together with anchor tags. Third, start learning CSS so you can make your pages look the way you imagine. Keep every page you build — in a few months, looking back at this first one will show you how far you have come.
